Tutorial Create Your Own Projects
If you are a newbie to creating with clip art this tutorial will help you see how easy and rewarding it is to create something wonderful and just the way you want it. I use clip art and PowerPoint to create because PowerPoint has so many incredible functions and it is so easy to use.
Be patient with your first project. Once you have gone through these simple steps you will be able to create your own cute notepads and stationery, coloring pages, worksheets, accents to decorate your room, puppets and so much more.

Images are what make flyers, invitations and greeting cards memorable. Art adds interest to any project large or small.
NOTE: Most clipart can be used for personal use by the purchaser. Please make sure you check the terms of use before using clip art to create products or any items that will be sold or mass produced.
Open a Word Document
What typing program do you use to type letters or notes? Open a page in your favorite word processing program. You can use clip art in most word processing programs to create your projects. (PowerPoint, Microsoft Word, Pages, Google Docs, etc.) For this tutorial I will be using clip art and PowerPoint. If you use PowerPoint you already know how useful and easy it is to create all kinds of teaching resources.
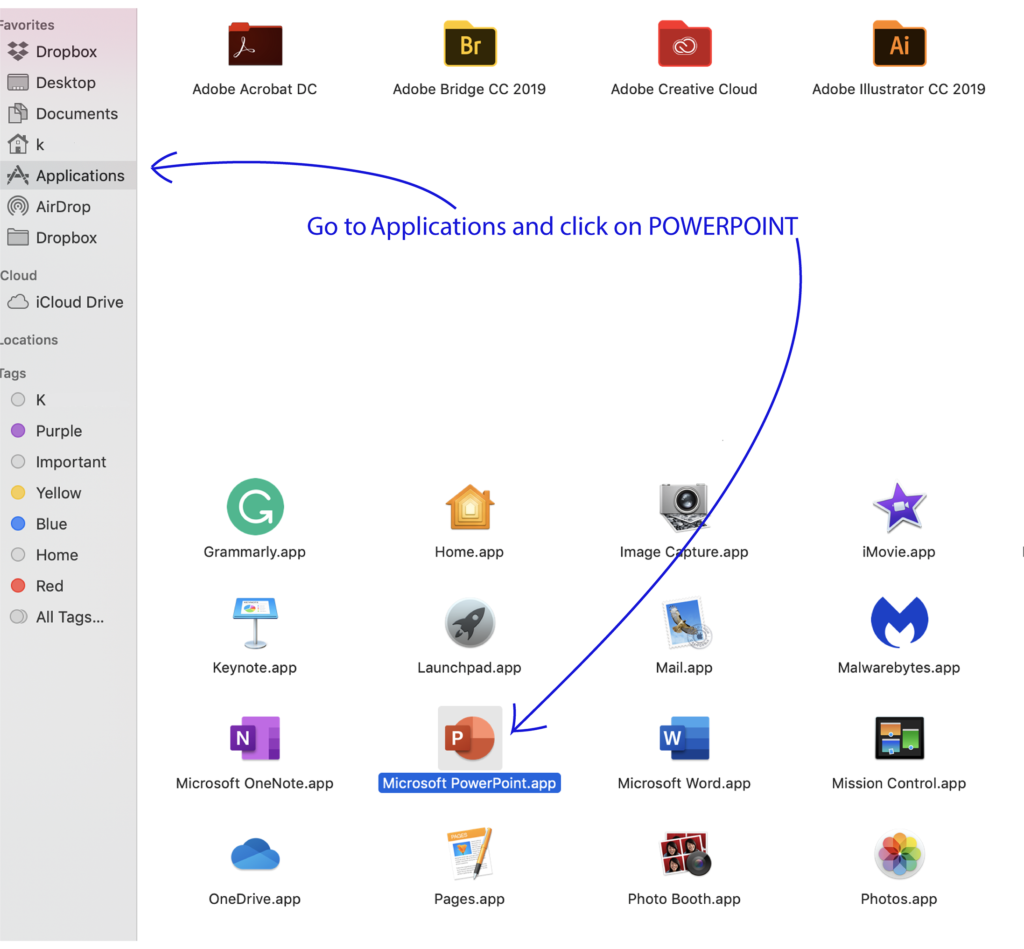
STEP 1 Go to your applications and click on PowerPoint. (Applications are where all your programs are stored.)
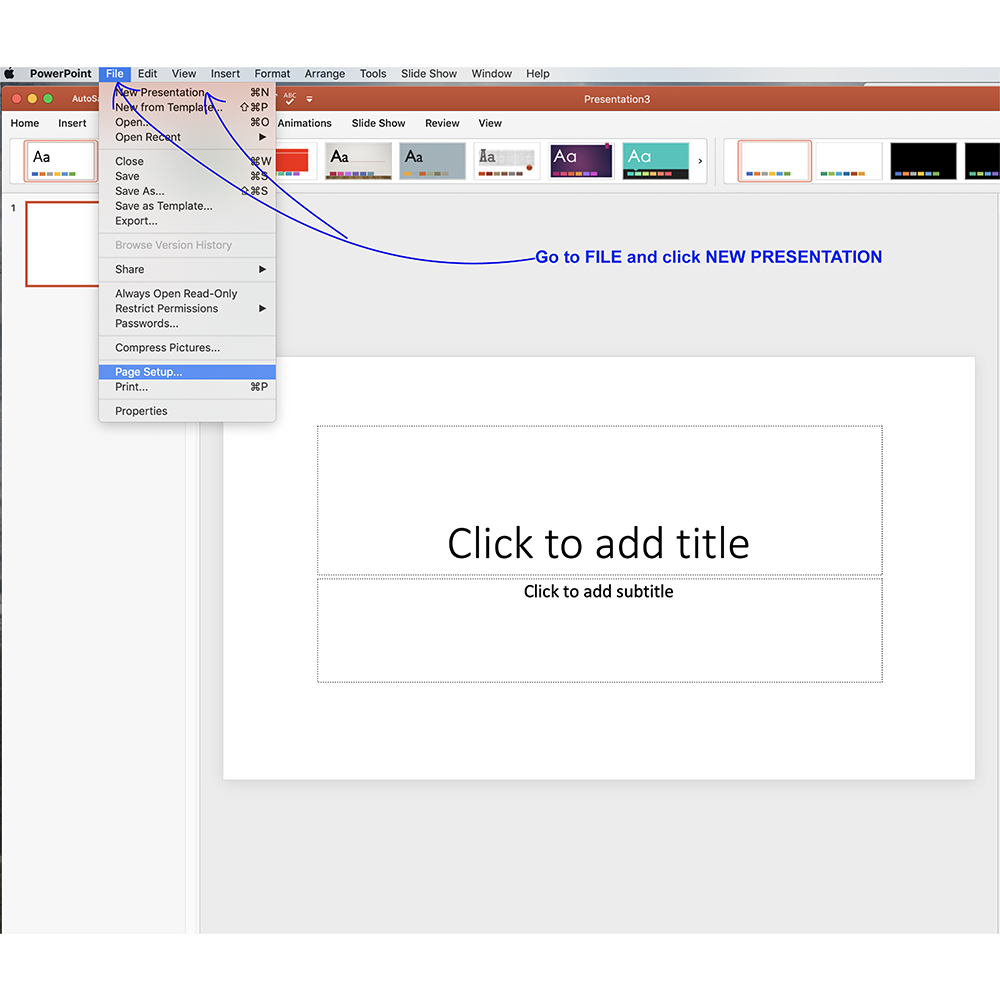
STEP 2 To begin your new project click on FILE, above your Powerpoint window, and then click on NEW PRESENTATION.
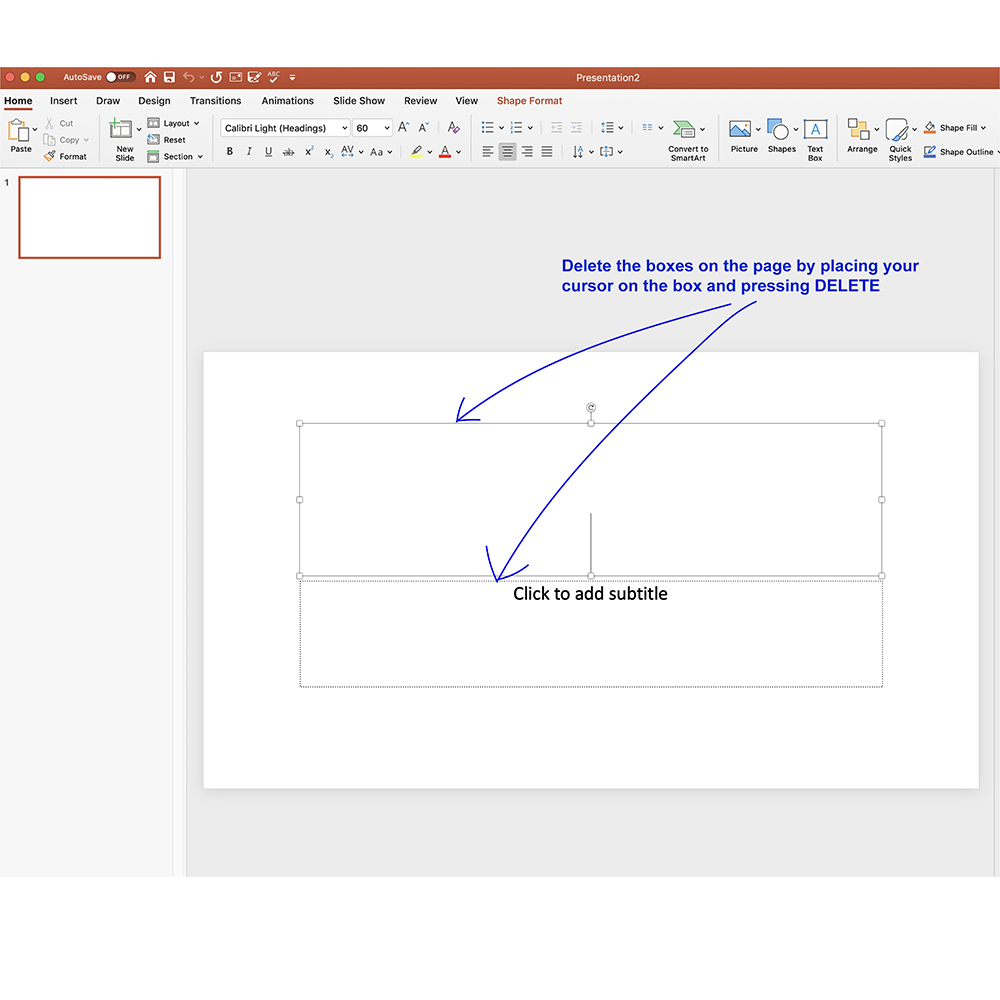
STEP 3 Next we will set up a new page. We want to get rid of the boxes in the middle. Place your cursor (arrow) on the edge of one of the boxes, click and press DELETE on your computer.
Do the same thing with the second box.
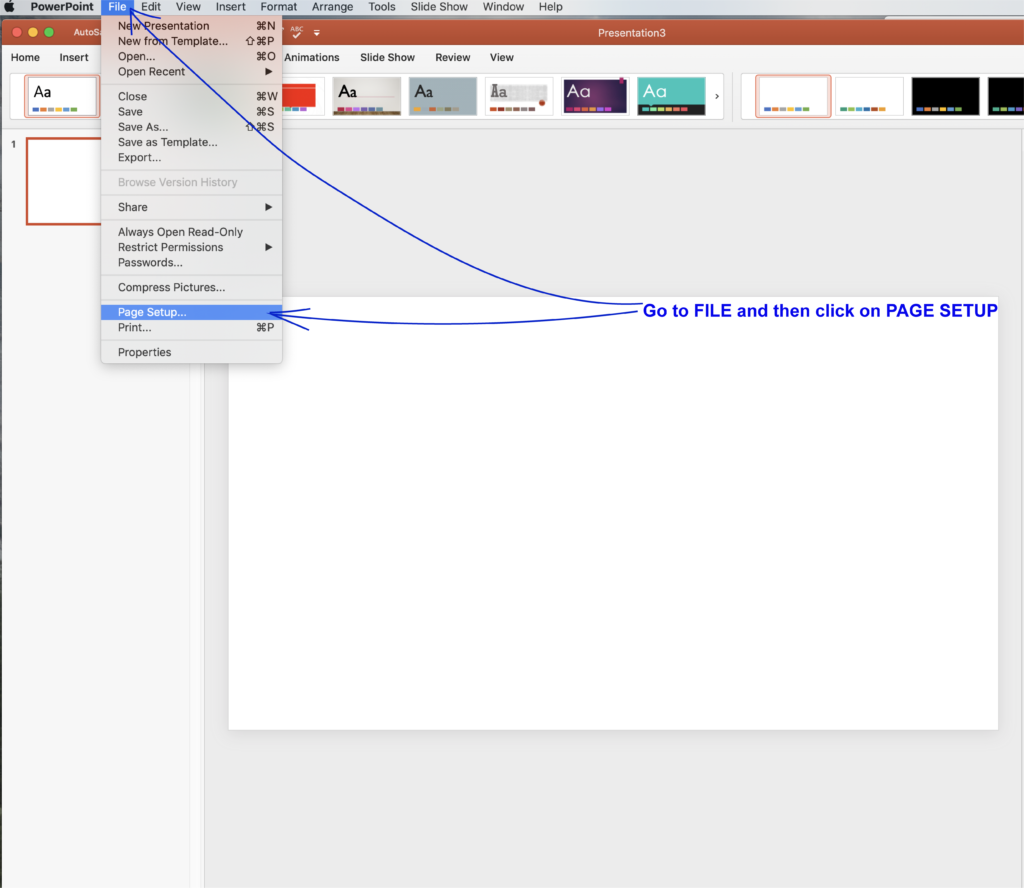
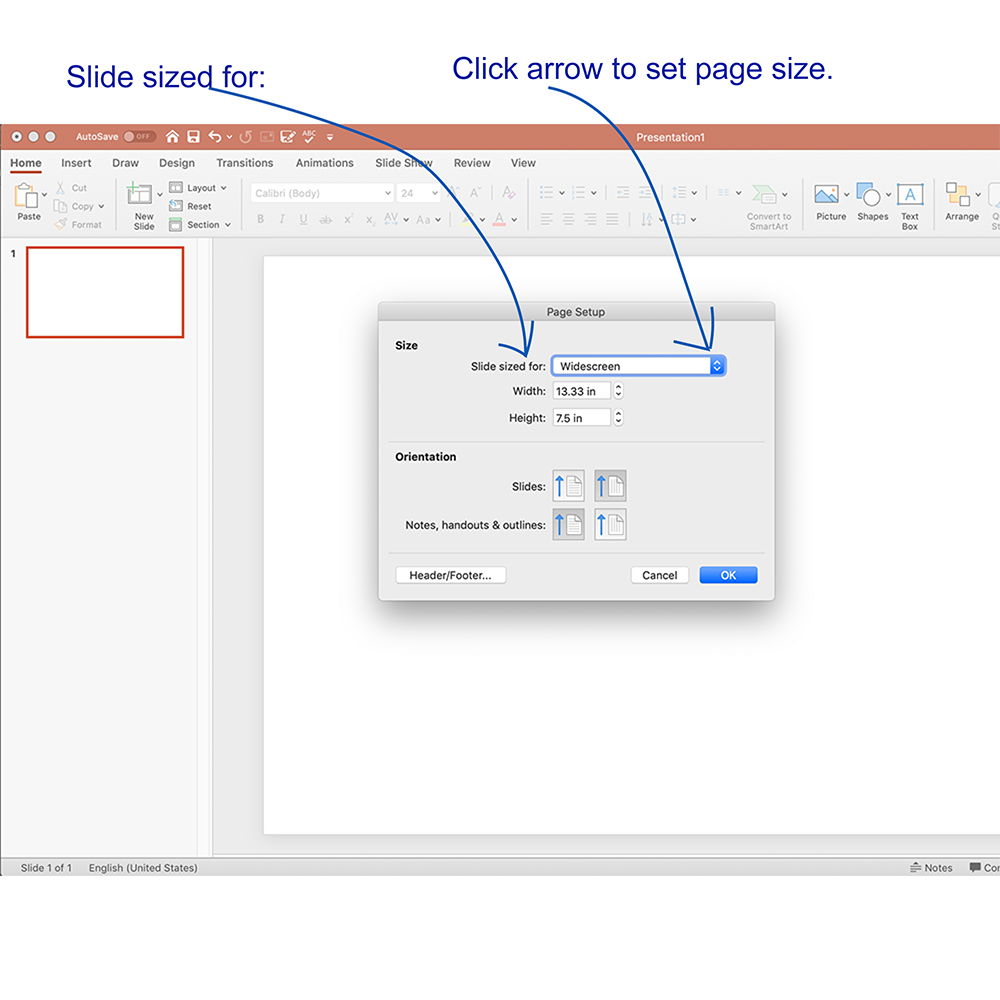
STEP 4 We are going to set the page up now so it is 8 1/2 X 11 inches. Go to the top of your computer window and press FILE then click PAGE SETUP. A window will appear. See STEP 5.
STEP 5 Look for the words SLIDE SIZED FOR. There are a few different ways to set the page size. For this tutorial, click the arrow and set the page size to 8 1/2 x 11 inches or Letter Size. Make sure your WIDTH is 8 1/2 and your HEIGHT IS 11 inches. Then click OK.
If a window opens that says SCALE UP OR DOWN, press SCALE DOWN. That will ensure that all your content will fit.
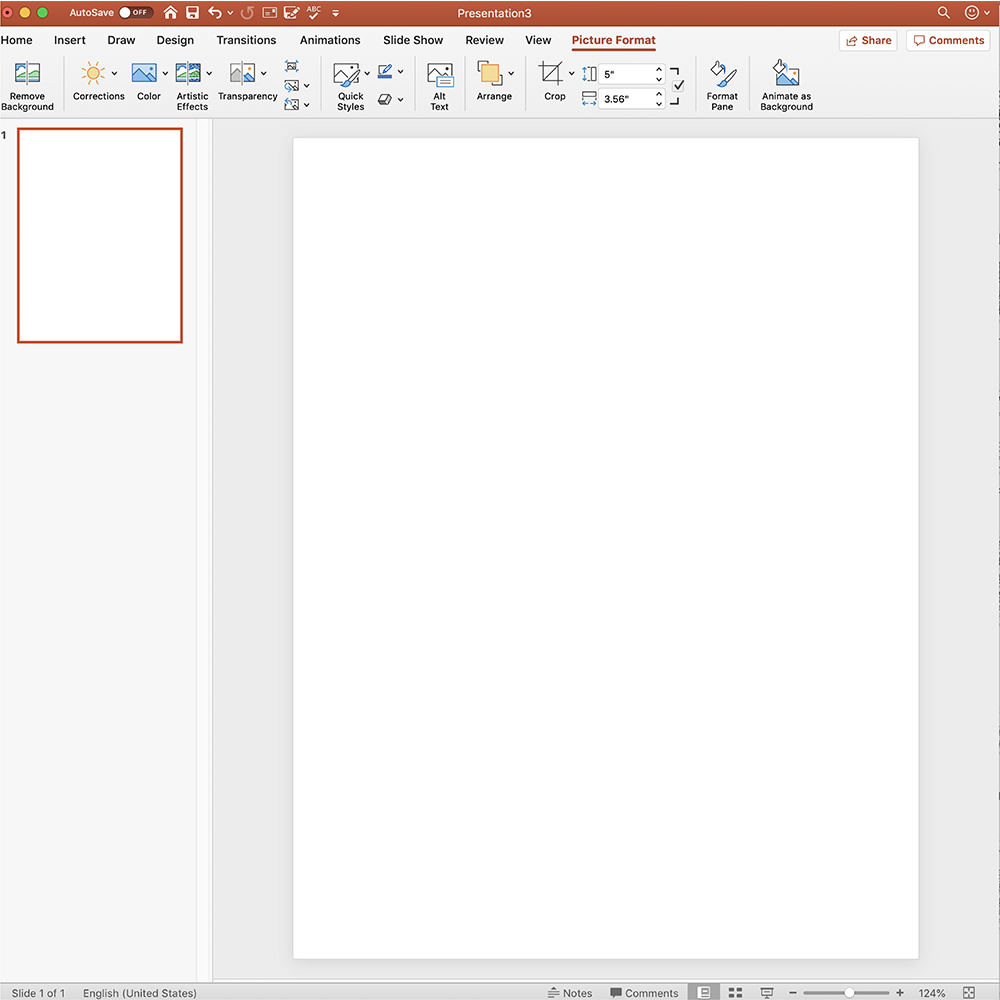
STEP 6 You have a blank canvas ready for your wonderful design. This is the rewarding part. You can now create a page exactly the way you want it.
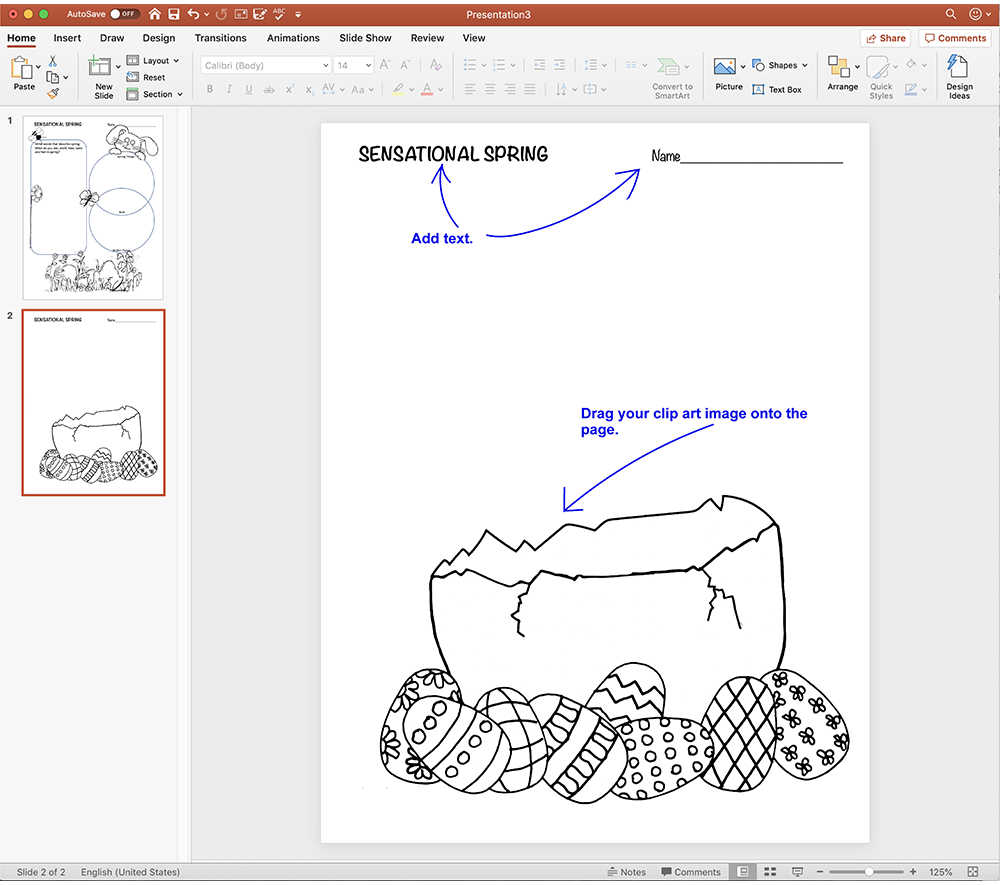
STEP 7 For this tutorial we are going to make a simple coloring page worksheet. Open your clip art files and find a clip art image you want to use on your page.
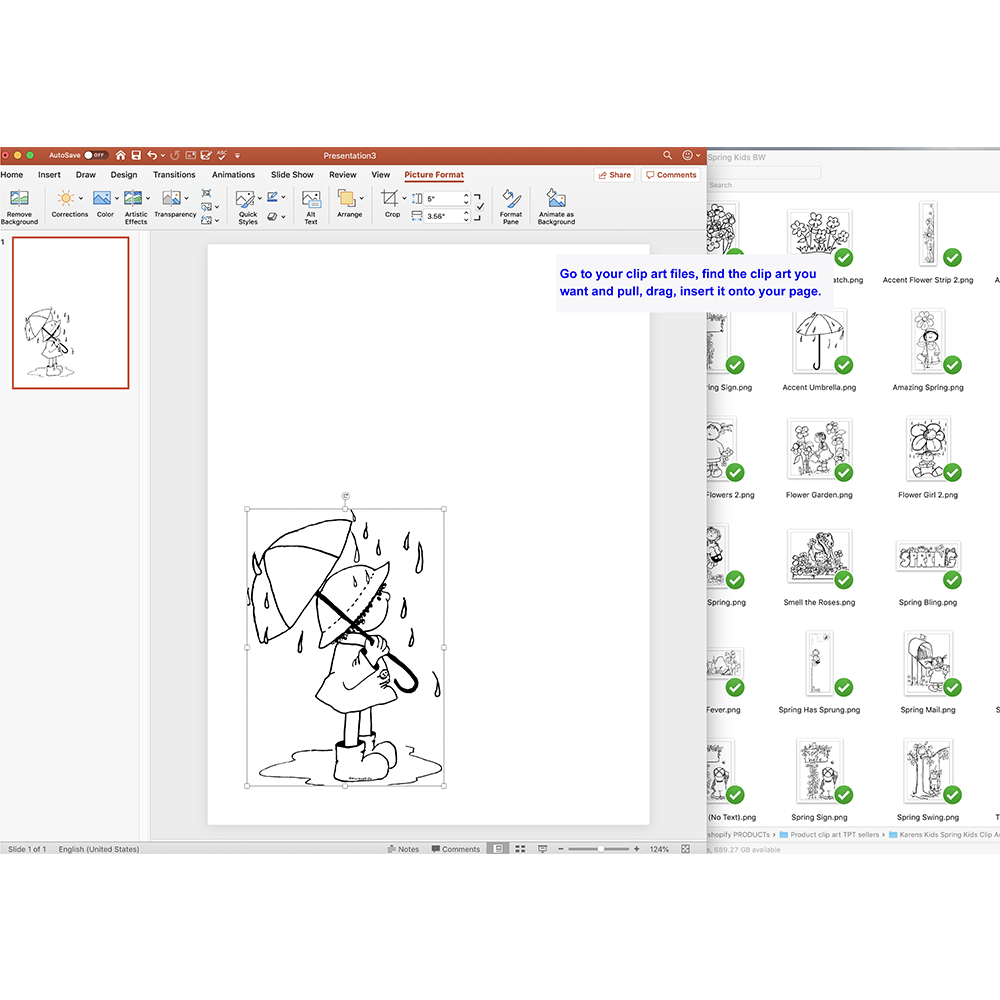
Pull your image, onto your page. If you are using something other than PowerPoint, check your page layout program for guidelines that will help you place clip art onto a page.
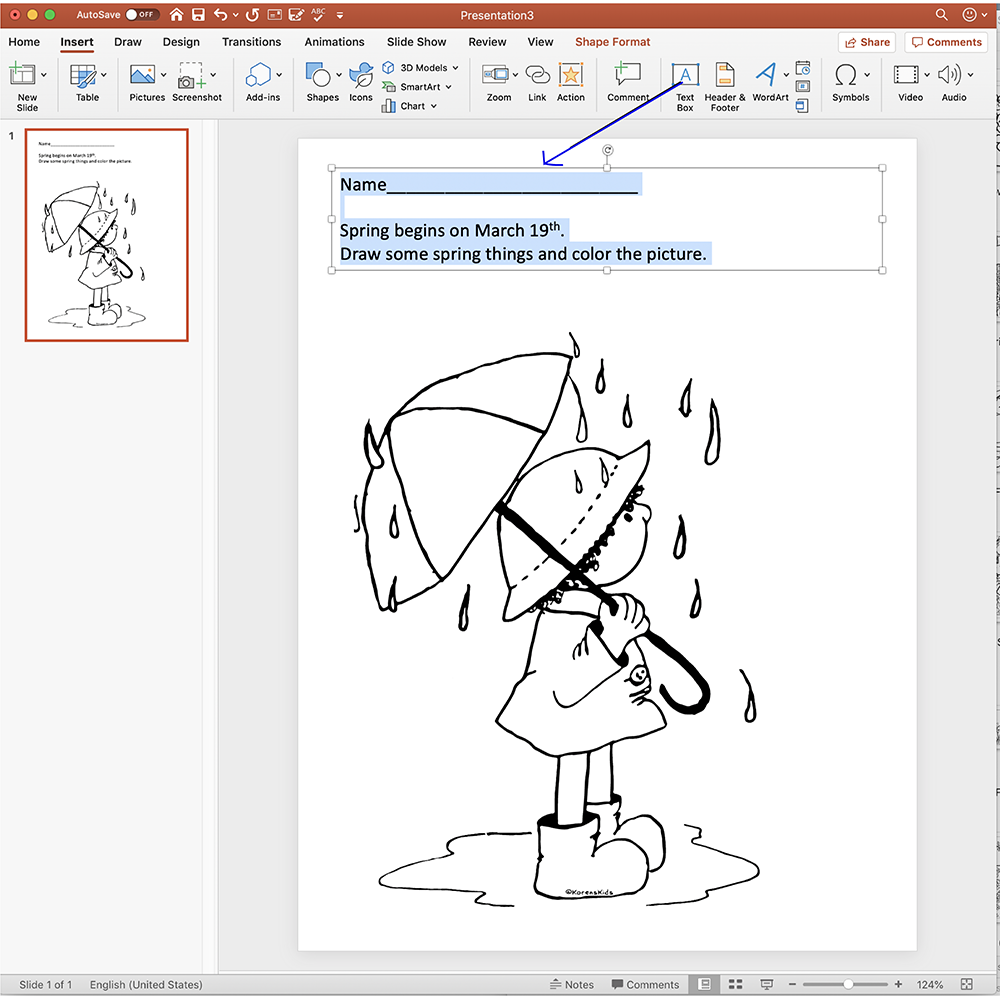
Enlarge or reduce your clip art images to fit your project by putting your cursor on one of the tiny boxes in the corner and pulling to the size you want. The image below has been enlarged.
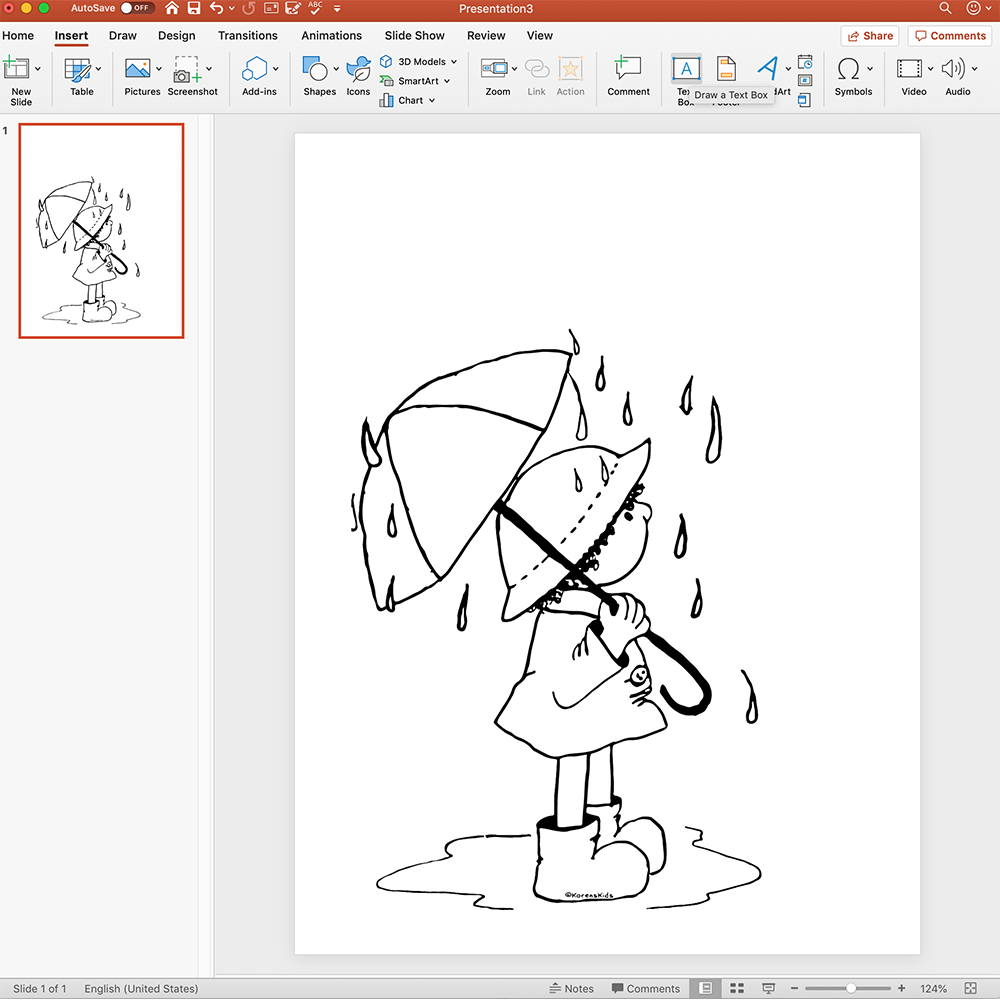
STEP 8 Now you can insert a TEXT BOX and include directions or prompts. In menu items at the top of your PowerPoint window, find INSERT, click it and you will see a bunch of menu items.
Click on TEXT BOX one time. Place your cursor on the page where you want to type. Hold down the cursor and drag the box to the size you want.
See the blinking line? Start typing.
HOORAY! You created your project with a clip art image plus a text box. Use STEPS 1 – 6 to create all kinds of projects.
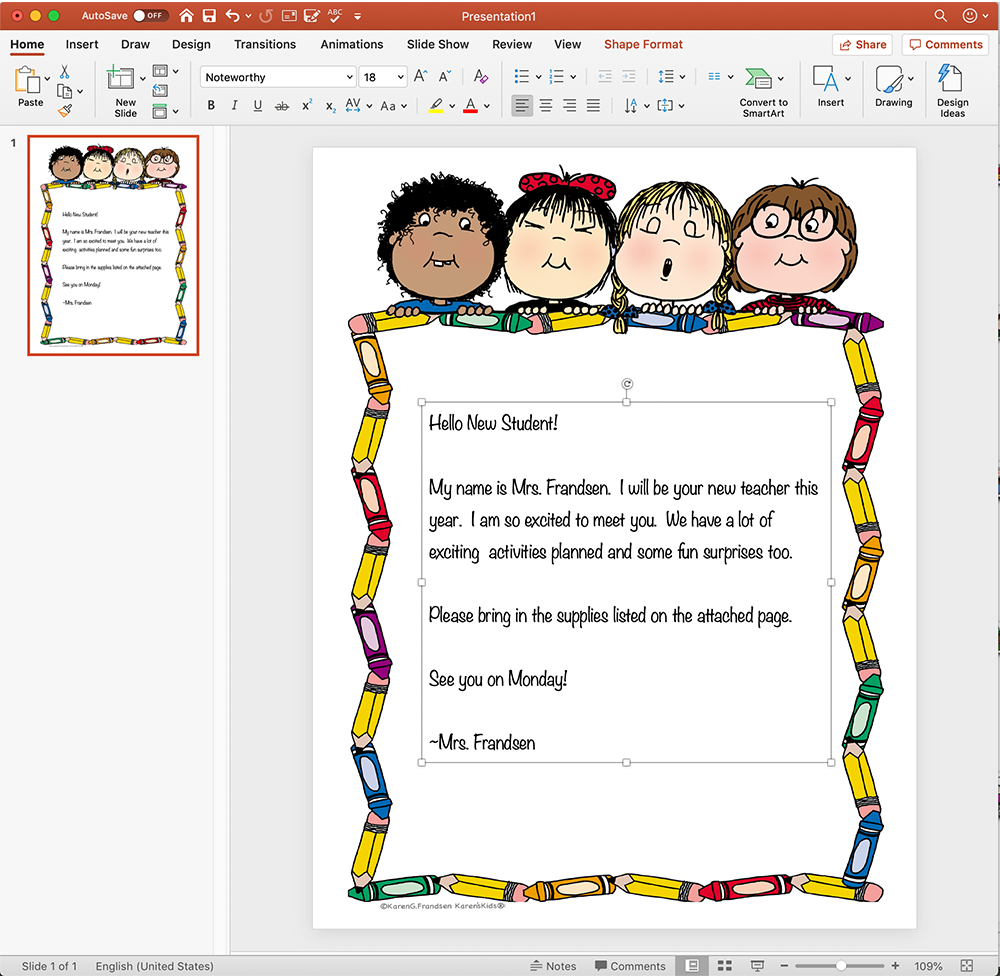
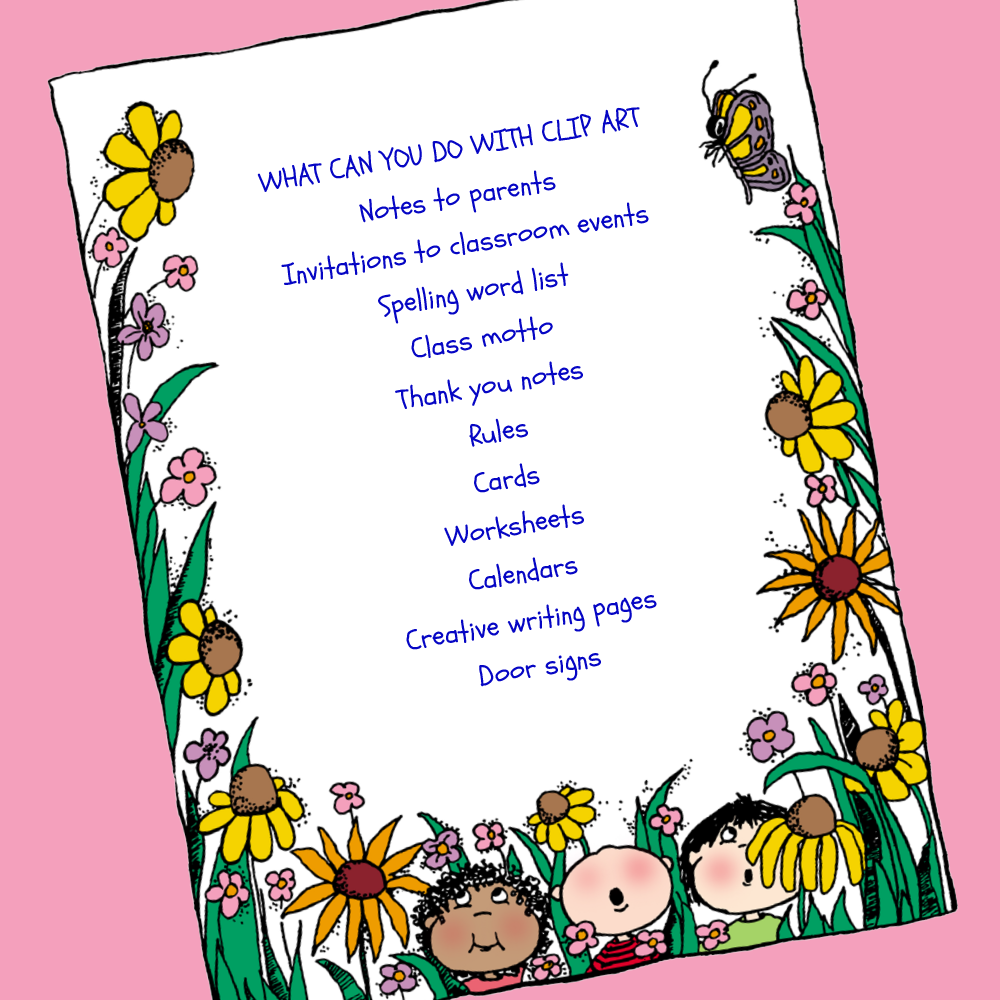
CREATE YOUR OWN STATIONERY. The project below was created in the same way. The clip art image is a border with a text box in the center. (Karen’s Kid’s Borders, Stationery and Headers Clip Art)
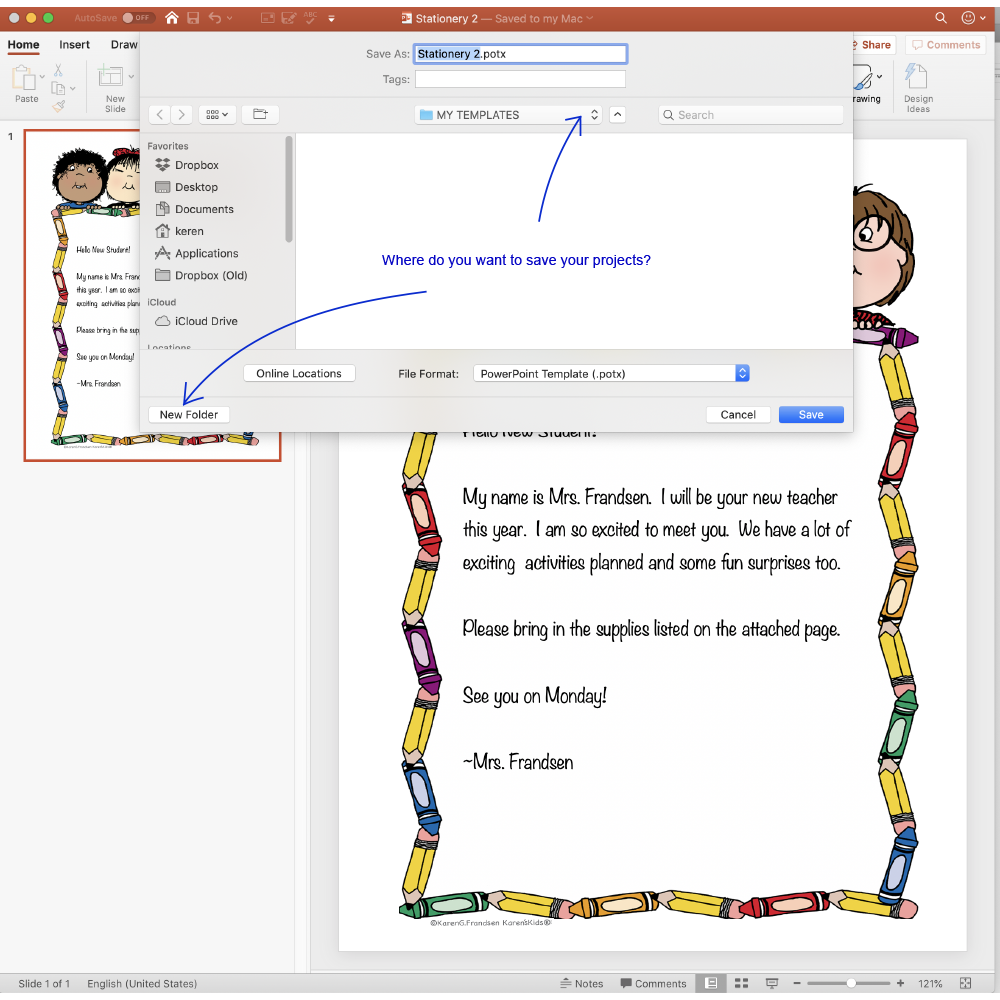
STEP 9 Let’s SAVE our project. Go up to FILE (top of your computer screen) and click on SAVE AS.
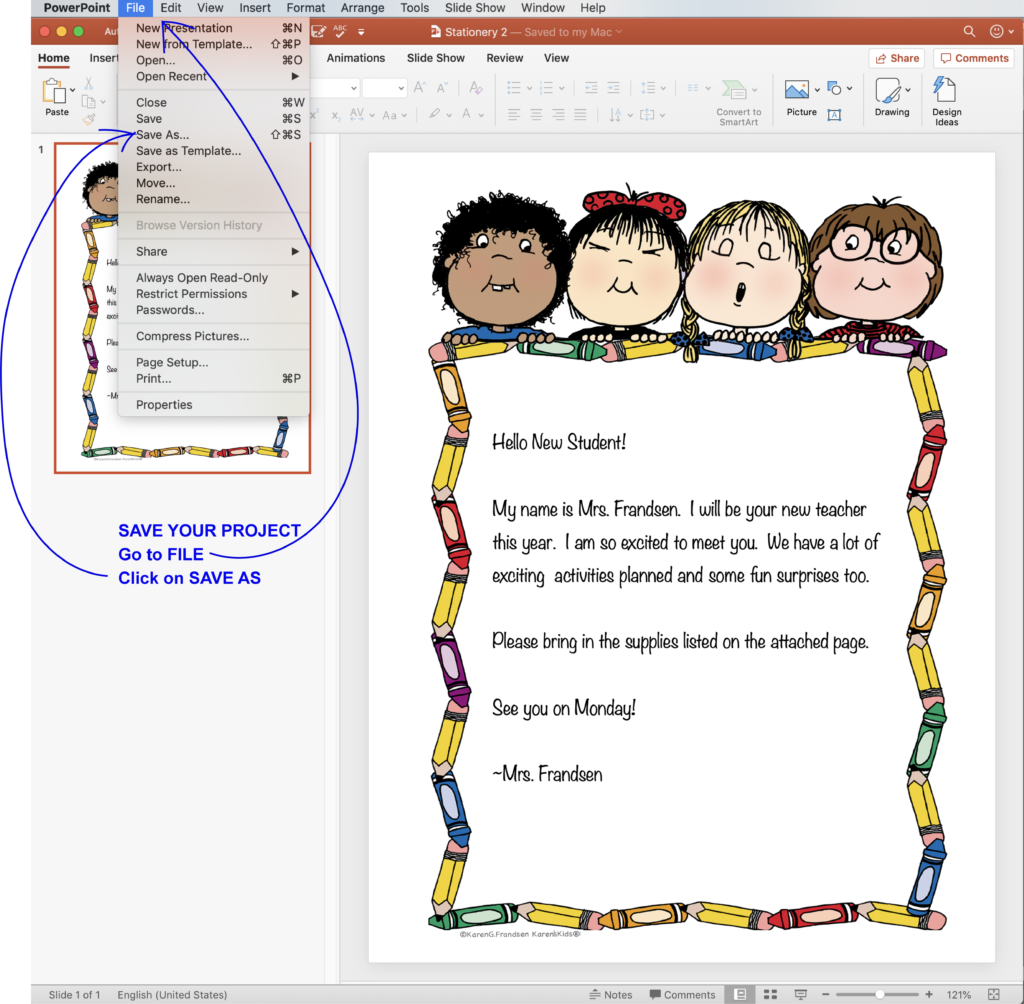
At the top of the window that opens you will see SAVE AS and next to that a box with some text that might look like this: Presentation1.pptx.
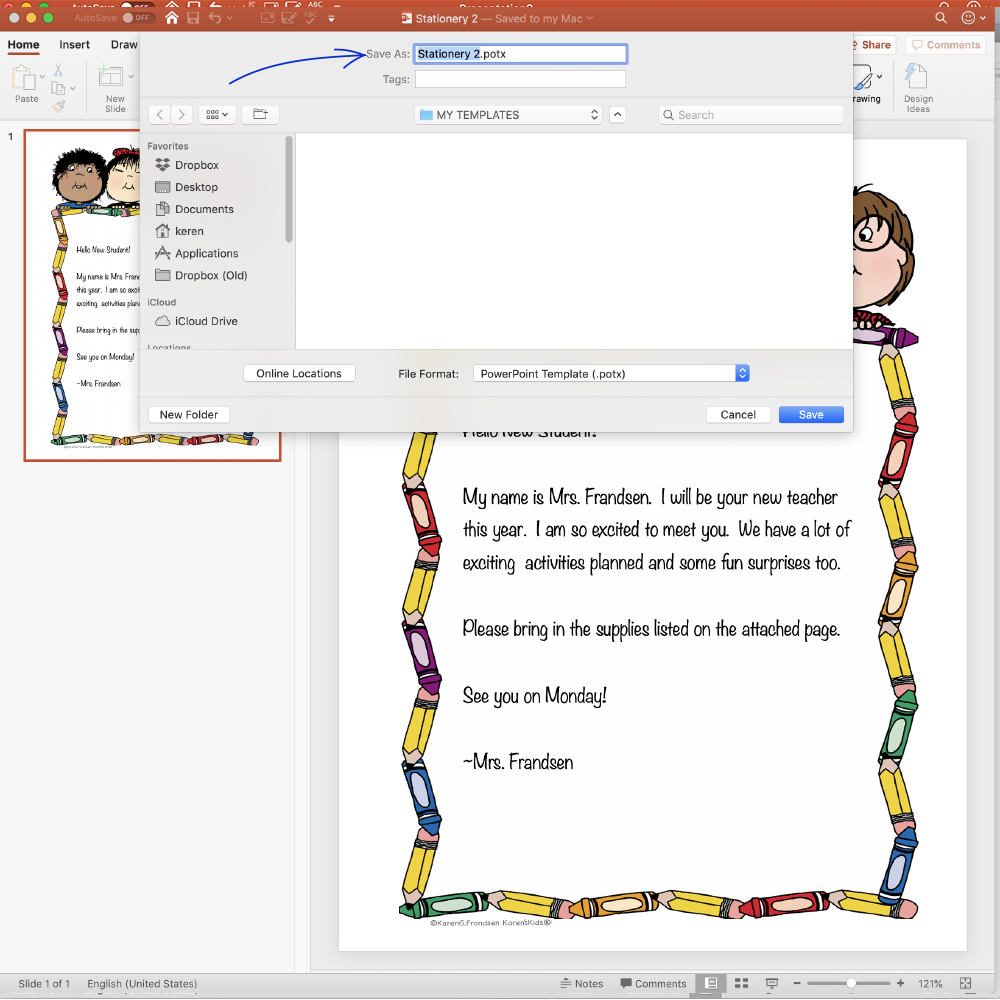
This is where you will name your project so you can find it again when you need it. I am calling my project STATIONERY2.potx. Make sure to type on the left side of the period so that the period and the letters after it remain. (.potx or .pptx).
Now you will decide where to save your project so you can find it easily when you need it.
If you click on the arrow next to MY TEMPLATES, you can choose a place already in your computer or better yet, create a NEW FOLDER.
Click on the box that reads NEW FOLDER.
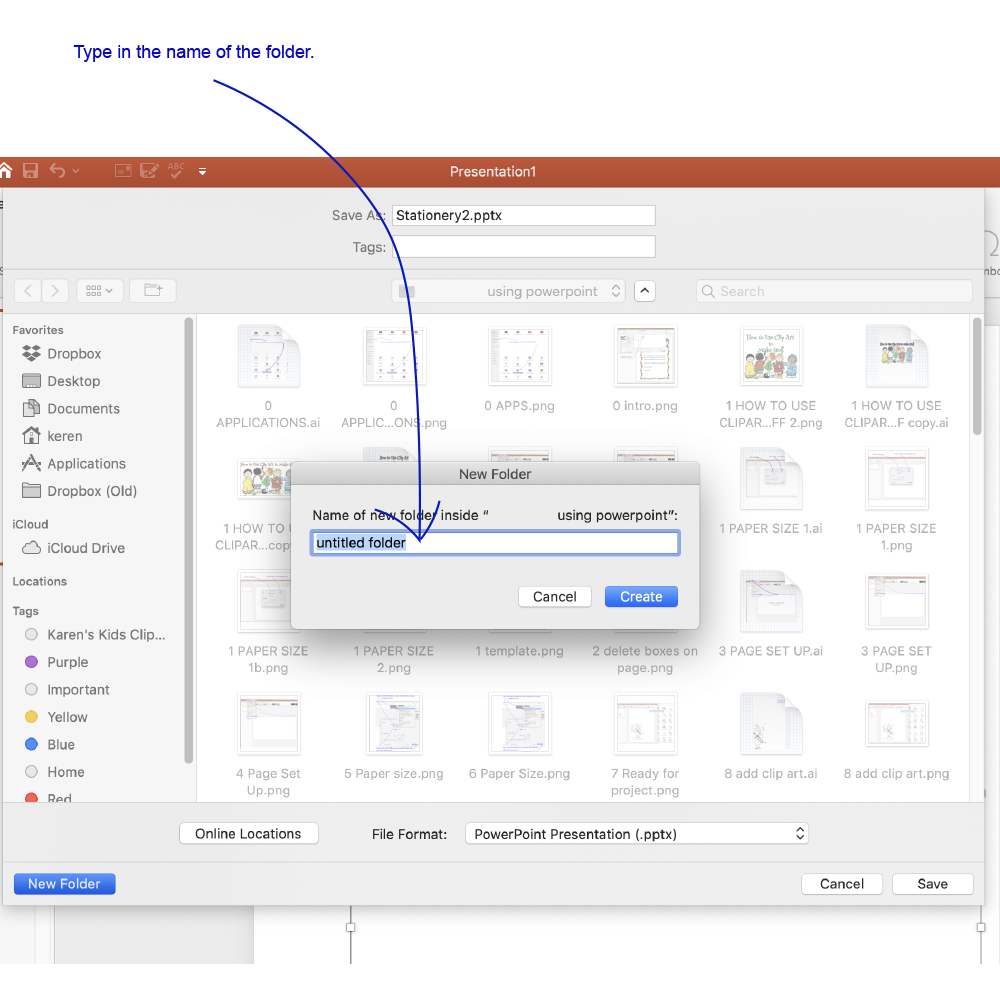
In the window that pops up (it may pop up anywhere on your screen) type the name of a folder where you want to store your stationery. How about MY TEMPLATES. Next press CREATE.
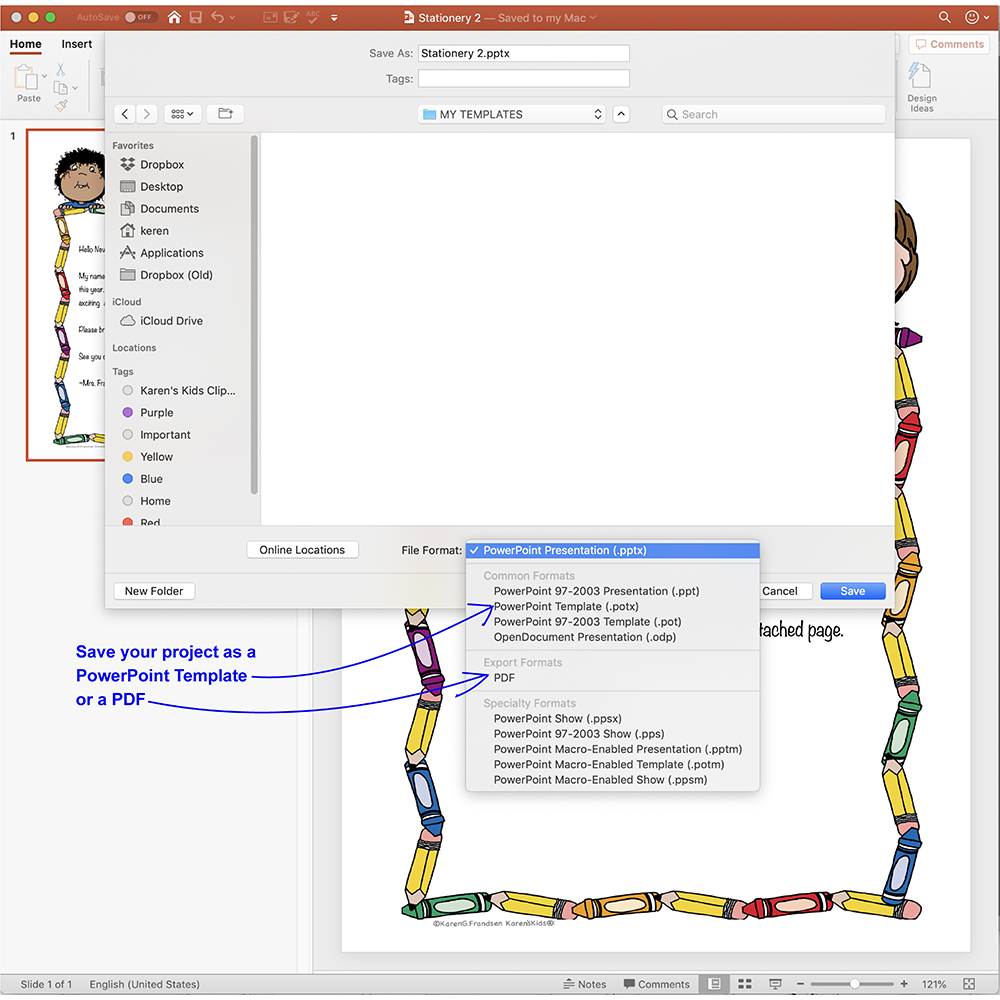
Almost done. You can save your project/template as a PDF or a PowerPoint format. I save mine as both. At the bottom of the window click on the arrow next to FILE FORMAT and choose PDF or PowerPoint Template. and then press SAVE.
To retrieve your projects you can type in MY TEMPLATES in your search bar.
Let me know if you have any questions. Try a few projects and please don’t give up if you come across any technical issues and/or directions that don’t make sense to you. I will be here to help get you started on your creative clip art journey. You will LOVE what you can do with clip art.
See some more easy projects for you to try below.
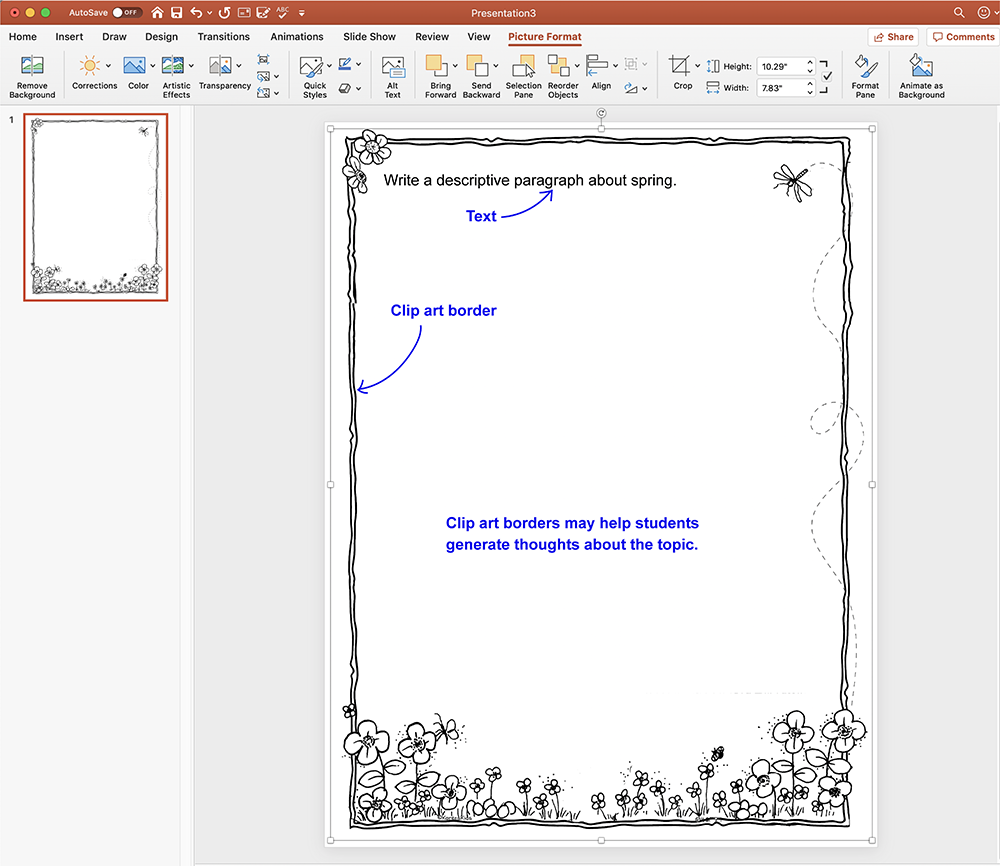
Clip art borders make it easy to design creative writing worksheets or personalized stationery. All you need is a border and your next to create communications, creative writing pages and more.
Click here to view Cute Stationary and Notepads blog.
Have fun teaching, organizing, decorating and communicating with all your new clip art creations. We would love to see your projects.
To thank you for taking the time to send your comments we can’t wait to send you a $10. or $50. gift certificate.