DIY Pop Up Cards With Clip Art
DIY Pop Up cards are easy and fun to make and people will love to get a card made by you. Make pop up cards to give on birthdays, holidays, missing you days and more. Gather your scissors, glue, paper, clip art and a few friends.
Here are a few ideas for creating super cute, entertaining and memorable popup cards with clip art.
POPUP CARDS FOR ANY OCCASION
A homemade card takes thought and time and that is what makes the message extra special. These pop-ups are easy for kids to make too.
- Valentine cards
- Easter cards
- Grandparent cards
- Friendship cards
- Get Well cards
MATERIALS FOR MAKING POP UP CARDS
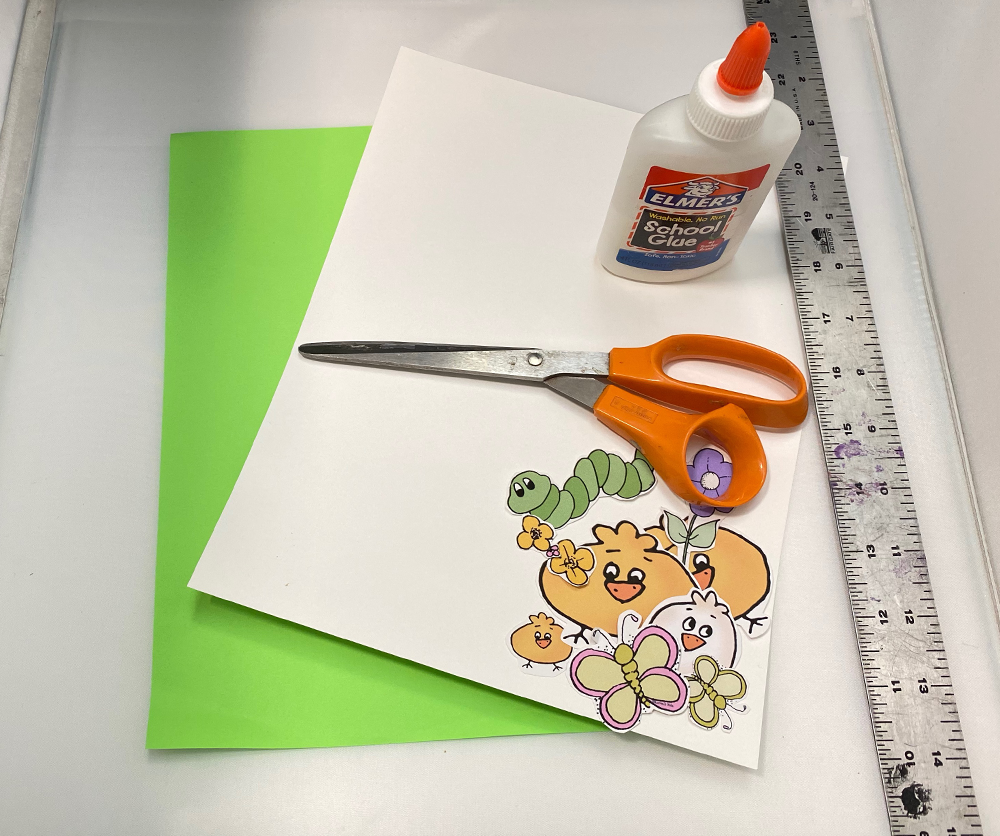
Gather Your Materials:
Think of a theme for your card (birthday, Valentine, friendship, Grandparents, holiday, etc.) and gather your materials.
- clip art pieces
- 1 piece of card stock (white or colored)
- 1 piece of heavy paper or card stock (white or colored)
- scissors
- glue
- ruler
HOW TO MAKE POP UP CARDS
This card has a backing paper (white cardstock in the picture below) and a colored paper (heavy lime green paper – below).
Your card can be any size. Cut the card stock paper to the size you want your card. Cards in the samples begin with an 8 1/2 x 11 inch page cut in half. This will make 2 cards.
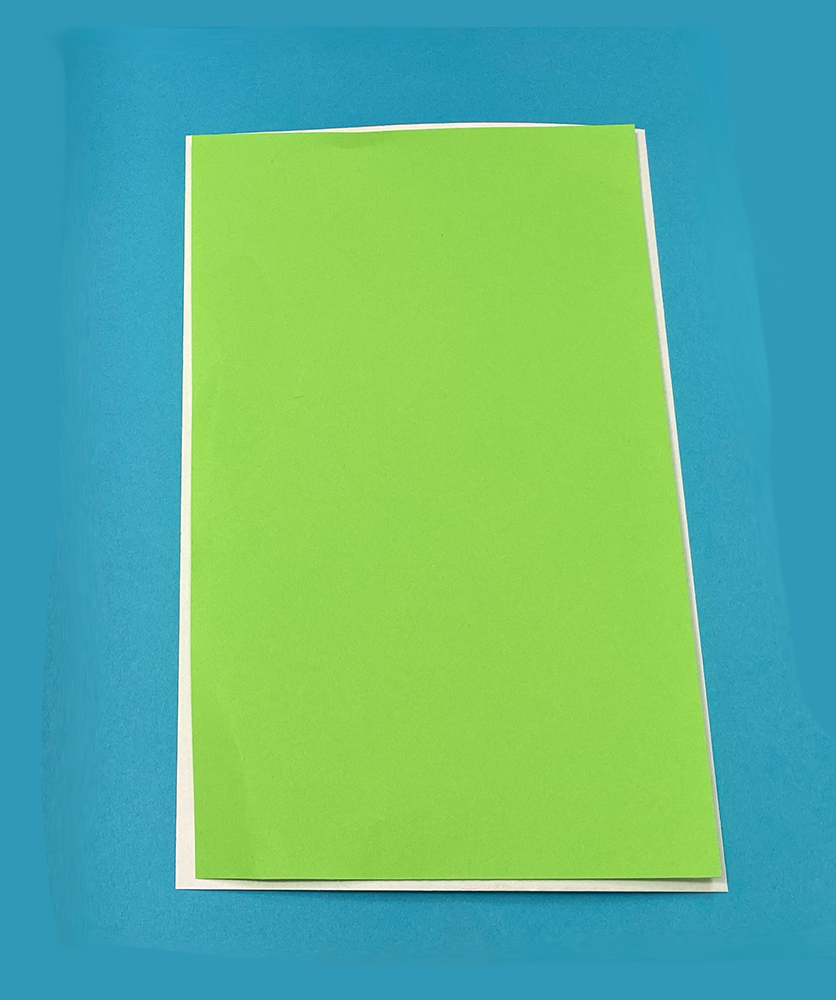
Cut the second page, the pop-up page (green paper). a bit smaller than the backing page (see image). Fold it in half (see below).
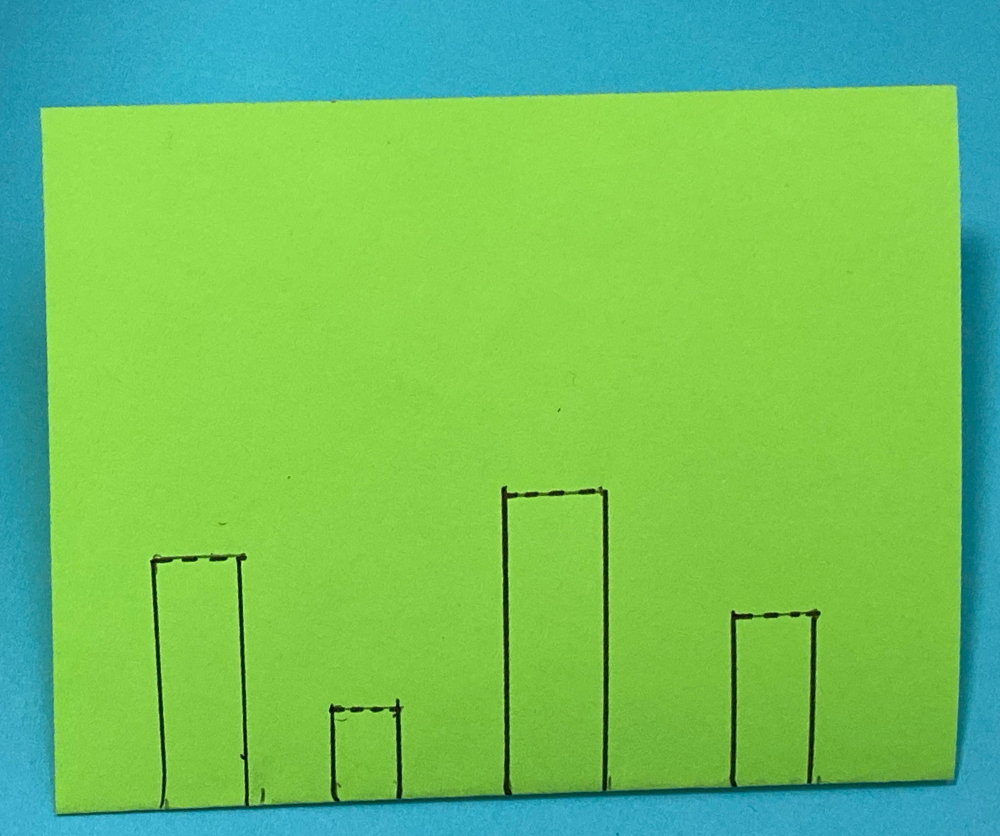
Next, you will cut rectangular shapes. Your clip art images will be glued to these shapes in a later step.
With the page folded, draw the pop-out spaces from the fold-up. Make one strip for each pop-up image. Make the pop-out strips different lengths so they pop out at different distances.
Cut the strips up to the fold (dotted) line.
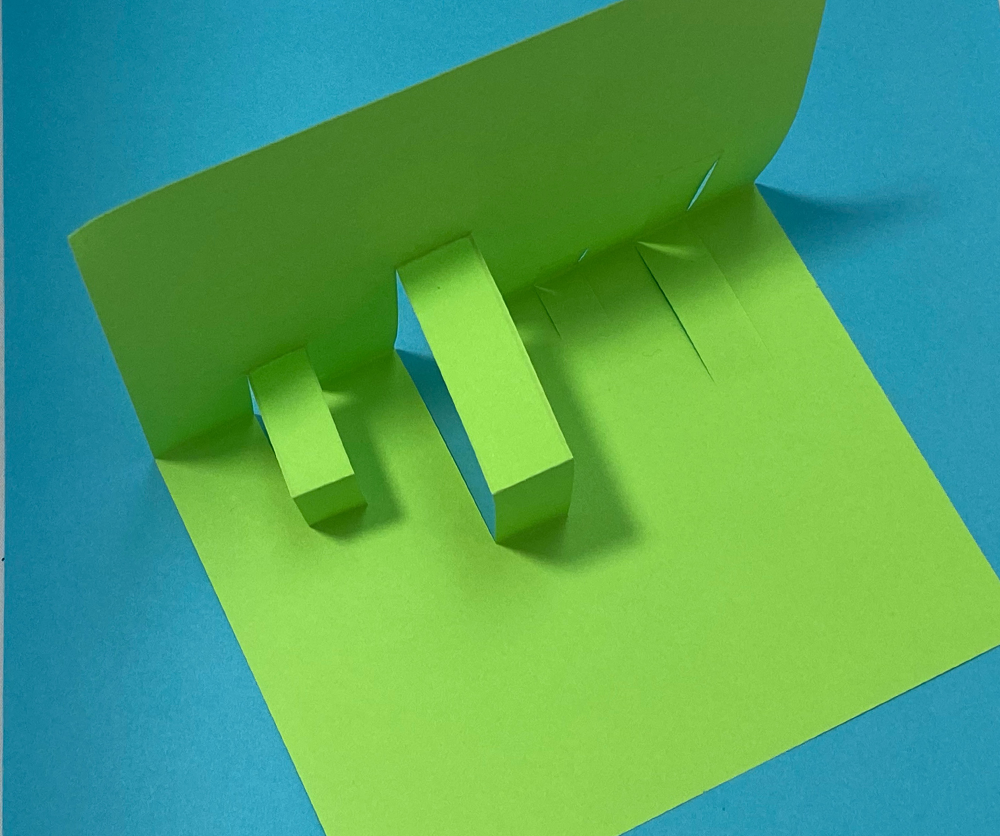
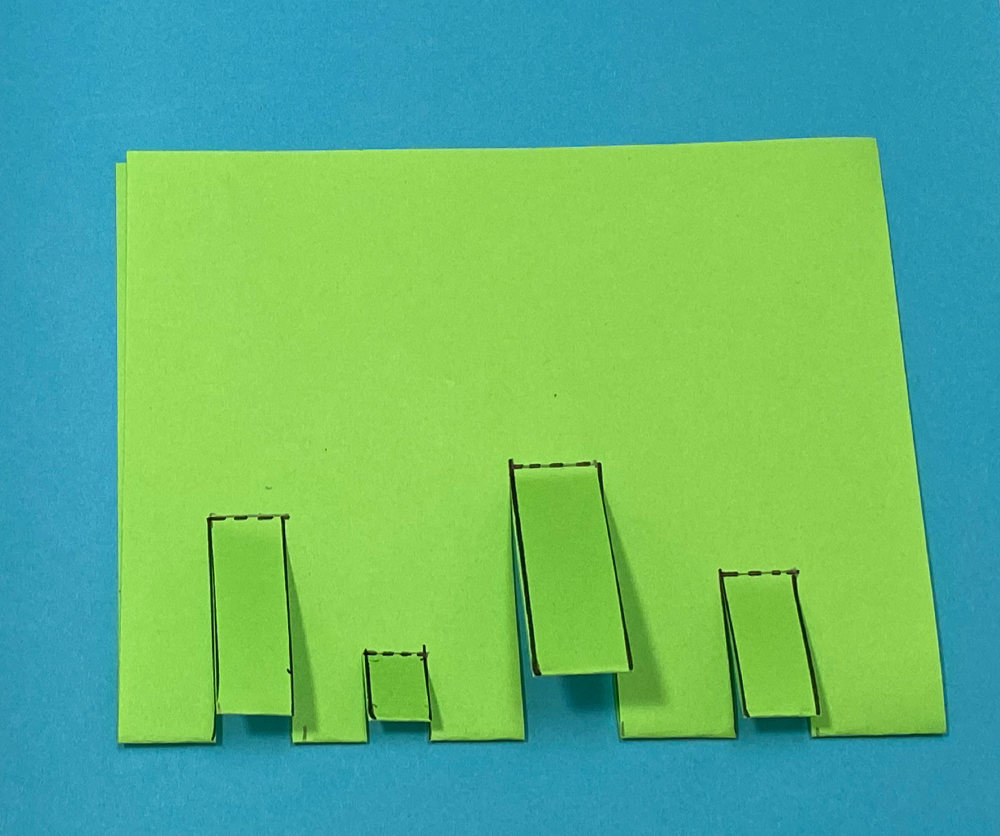
Open the page, pull the strip towards you. Re-bend it towards you. Do this with each strip. Make creases (folds) at the top and bottom of each strip.
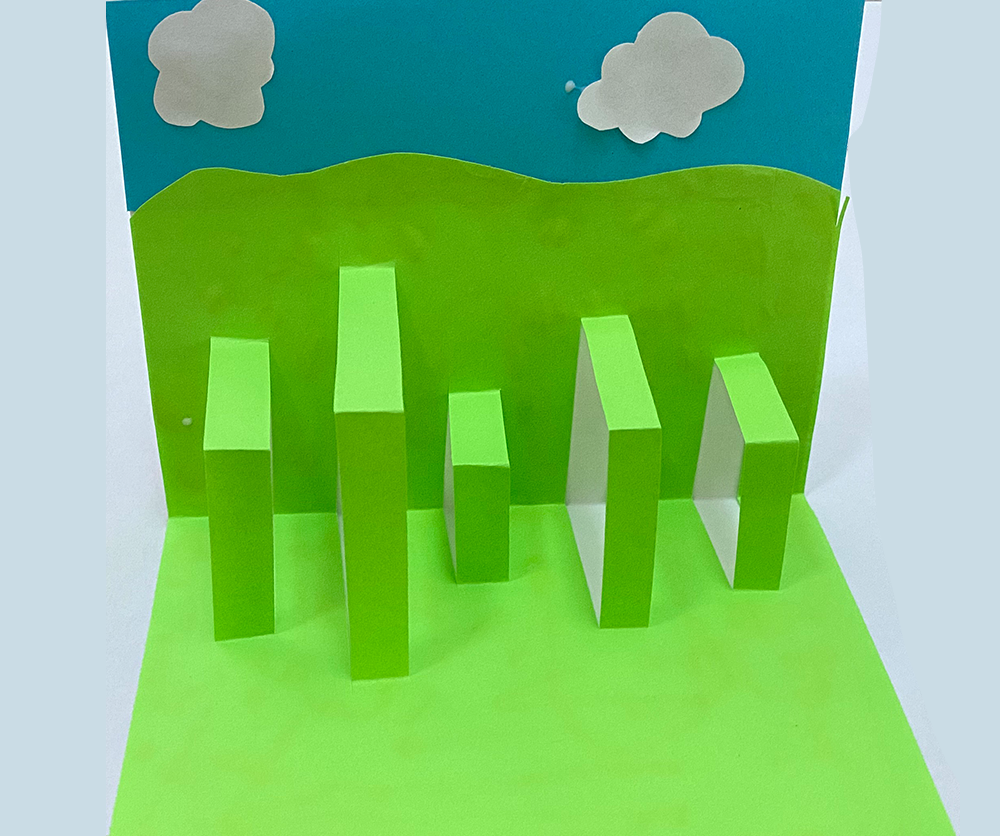
Before gluing the pop-up page (lime green page) to the backing page (white page) you can trim the top of the pop-up page so you have room to add images that fit your theme.
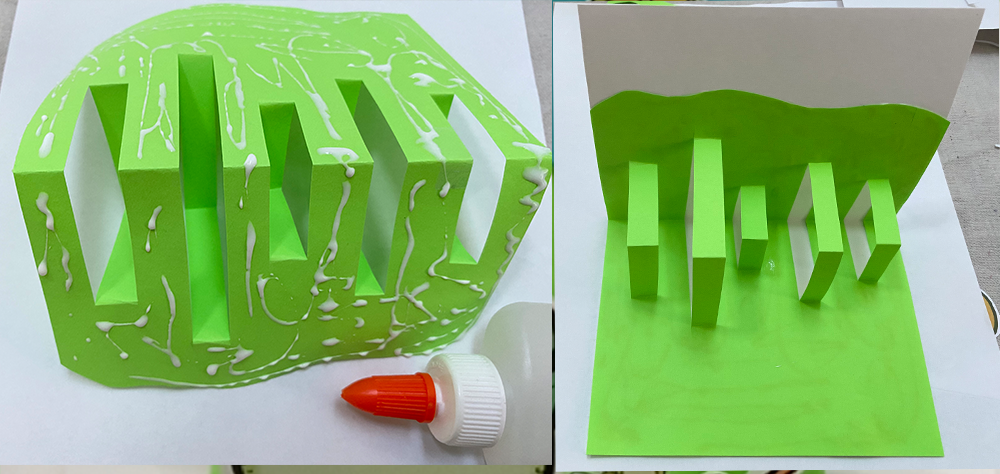
Turn the green page over and add glue to the back of the page.
Flatten the white backing page. Lay the pop-up page with the glue on top of the backing page making sure that the folds meet when glued down. Press and then fold it to make sure it opens and closes correctly. Keep it open to let it dry.
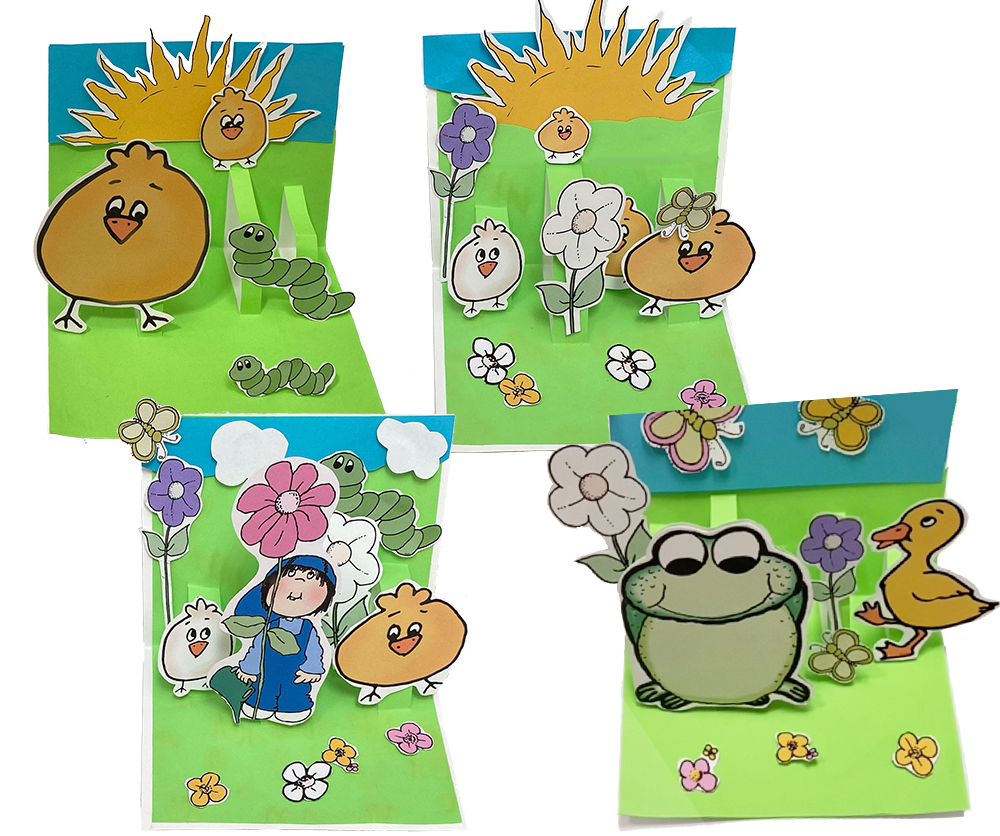
Try different arrangements before glueing the images to the pop up strips. Glue dots are great. They are not permanent and they are easy to stick on and lift off.
“Always be a first-rate version of yourself, instead of a second-rate version of somebody else.” ~Judy Garland
Have a great week creating!
Karen