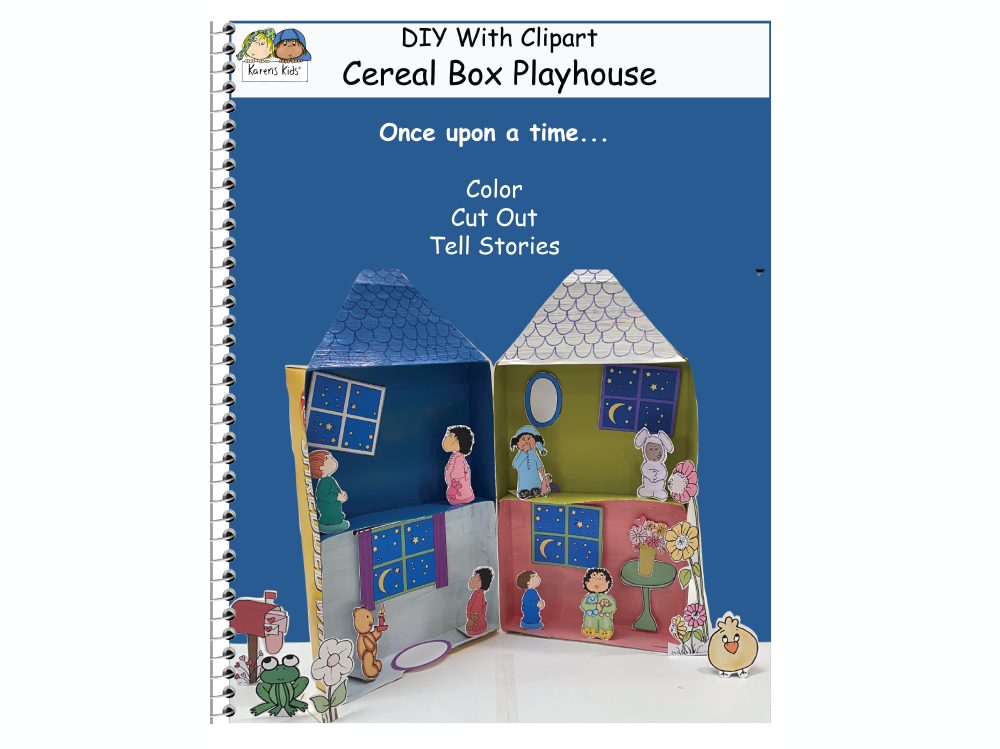
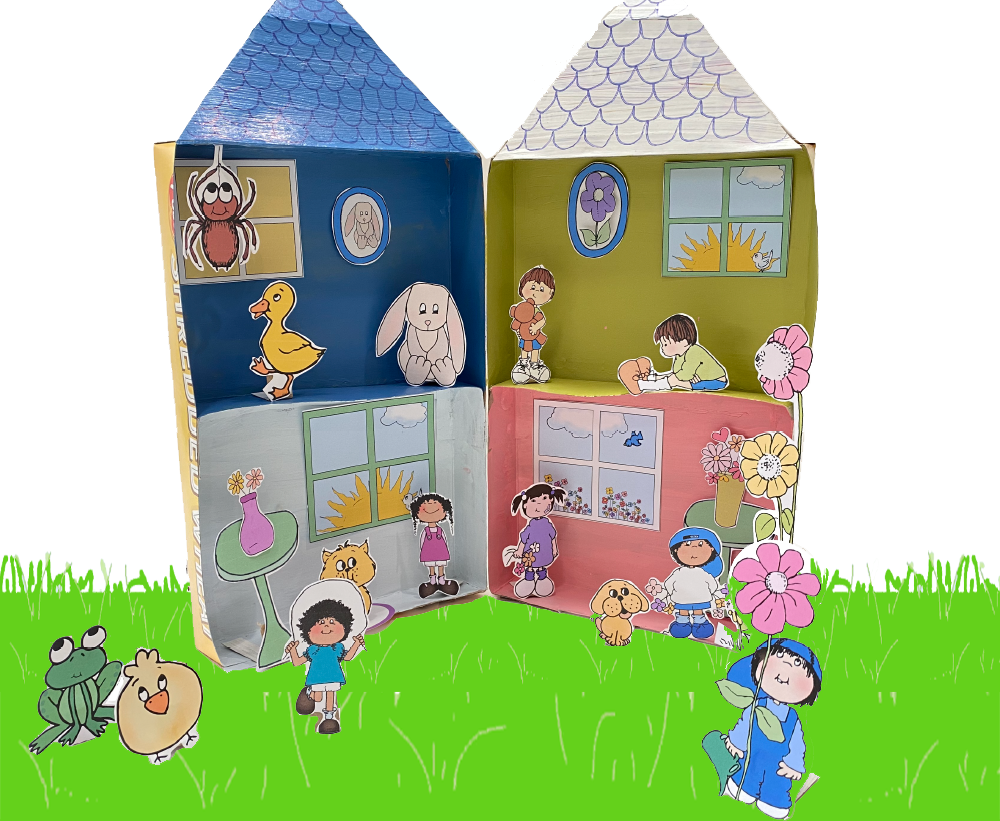
Lights, camera, action…this DIY playhouse and the clipart puppets that live there are easy for kids to create. Change the rooms from day to night. Rearrange the furniture, add flowers, trees and animals. Then make up stories, plays, adventures and more.
If you want a project that provides hours of creative play this is the project for you and your kids. I created this for my grandkids and I spent hours decorating the rooms, arranging the flowers and adding animals and pictures to the walls.
I hope you have as much fun creating this project and playing with your children as I do.
Here’s how to create your DIY playhouse and clip art puppets.
If you are short on time and would like to download the ready-to-use kit click on the image below. Limited time freebie.
DIY playhouse and puppet materials
. large cereal box
. scissors
. glue
. page(s) of clipart kids, animals and plants
. glue dots (the kind you use for scrap booking
. rectangle cardboard pieces for supporting the images
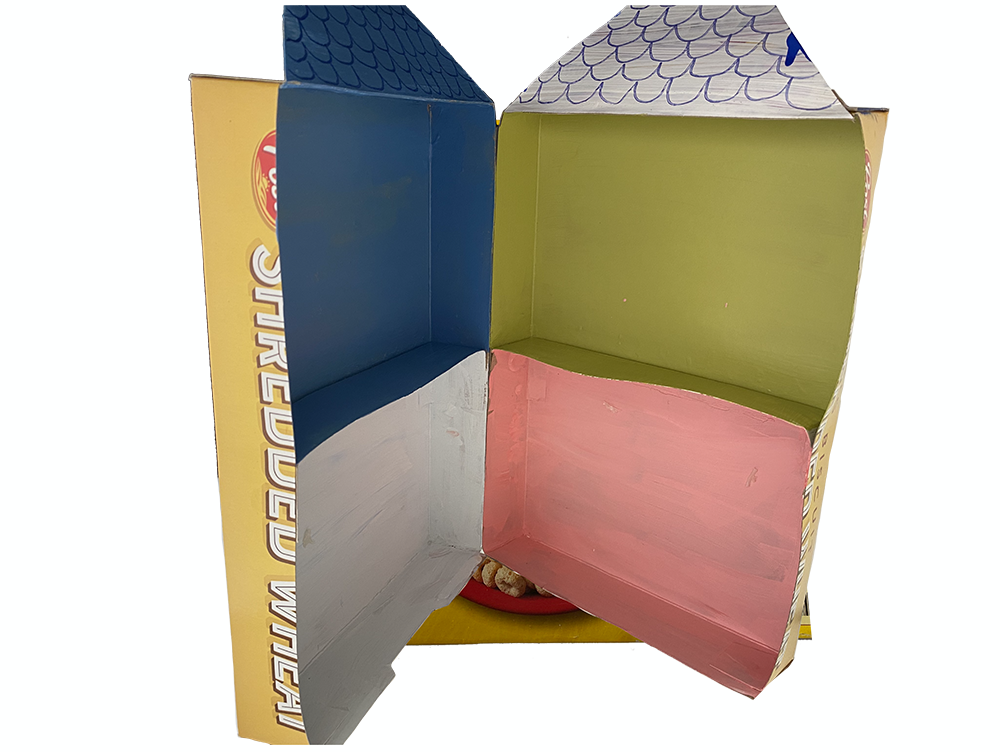
Get the DIY cereal box playhouse ready
To make four rooms (two sides with two rooms per side), cut through the box starting on the side and cutting through the center all the way around until you have two separate pieces.
If the cardboard comes apart when you cut through the top and bottom of the box glue the pieces together and hold them down with a clothespin or clamp.
Younger children may need a little help with this first step.
Attach the sides, add room dividers, paint
Attach the 2 sides together by closing the box and taping the sides together from the back. I use shipping tape. It is thick and sturdy and allows the box to open and close easily.
To create the 4 rooms, cut 2 rectangular strips as wide as the side of the box and about 3/4 of an inch longer than the width so you can fold down the 3/4 inch pieces and glue them to each of the sides. I glued mine about half way down.
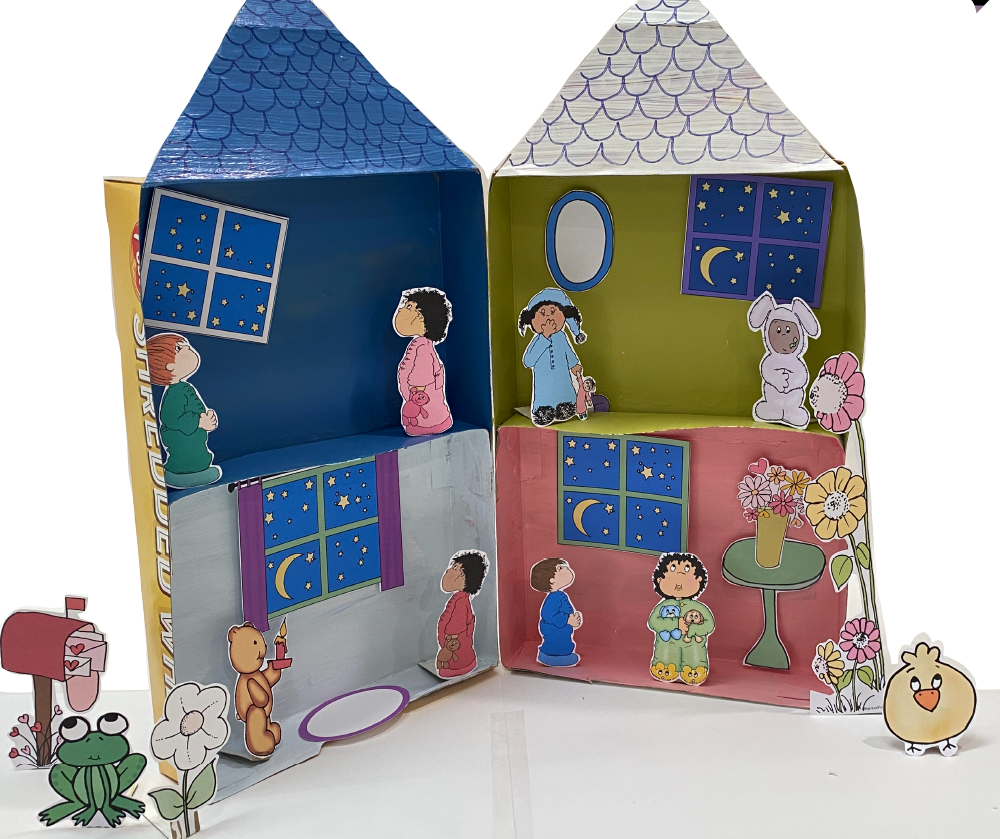
Add a roof. Paint the rooms.
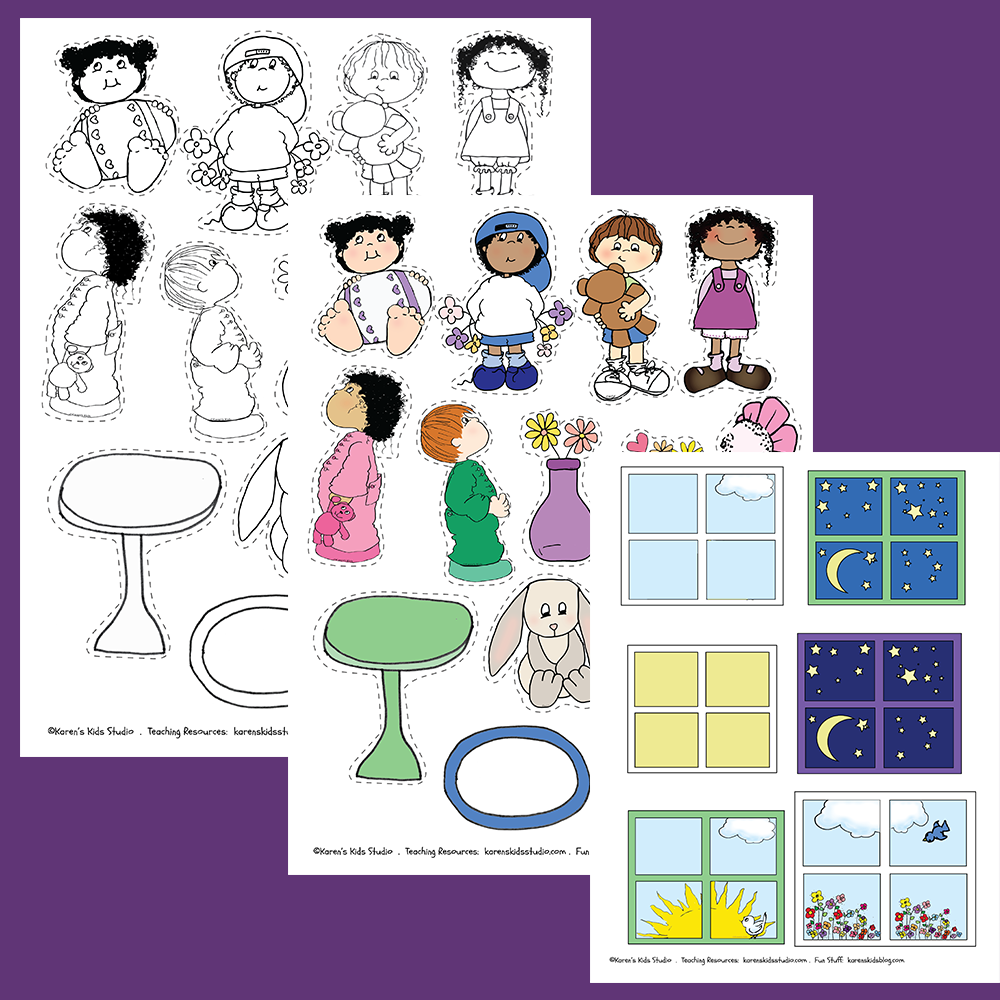
Prepare the clip art people, animals and things
Use your favorite clip art to make pages of things kids can cut out and use in their playhouse: characters, animals, plants, furniture. Encourage them to draw their own things for their playhouse too.
Use black and white images for kids to color or colored clip art.
Cut out the images.
Karen’s Kids DIY Playhouse Kit has ready to print clipart and guidelines for the playhouse construction. Download for free (Introductory Offer)
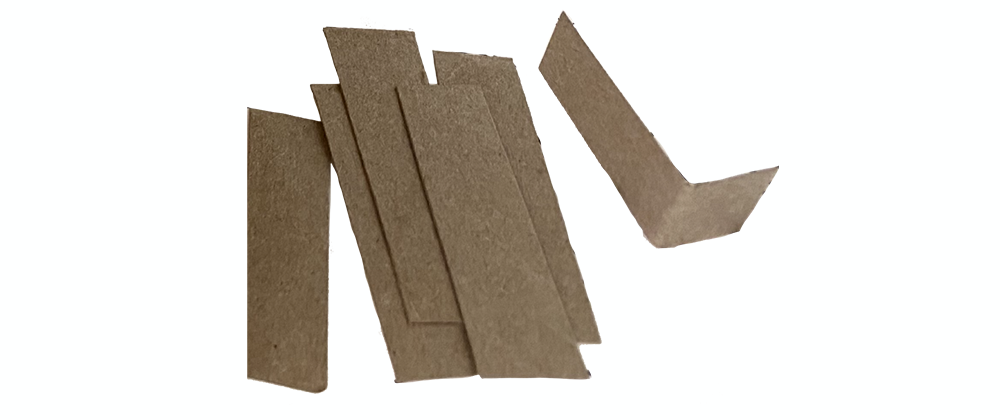
Add support to the images so they can stand
You can make the puppets stand easily with a small piece of cardboard. Cut rectangular strips from cardboard (cereal box scraps work well) and fold one end up. Glue the puppet to the short end.
Make windows, pictures and wall images removable
Making the images removable instead of permanent allows kids more flexibility in their play. Make a set of daytime windows and a set of night time windows.
Glue dots work really well on decorations, pictures, furniture, etc. that kids want to add to the walls. They are easy to remove and you can use them several times before they need to be replaced. Glue dots are used in scrapbooking.
Kids can change rooms from bedrooms to kitchens, to secret rooms or they can create magical, fantasy rooms and spaces by moving their images from place to place.
Lights, camera, action…let the rumpus begin!
Digital images are so amazing because of the incredibly creative projects you can use them for.
Would you share your clip art adventures? I have tons of $50. coupons to thank you for your ideas and sharing them with use.